Hey guys! I chose the perfect day to do this little tutorial :D… or maybe not. It’s been constantly raining here today and the skies are so dark :(. But summer is on it’s way- don’t worry! So today’s tutorial is on a trend which has been circling the media recently. I’m going to show you about sun-stripping which is a very easy makeup style to follow because it’s so natural looking. If you haven’t already heard about this, it’s basically a way to give you a beautiful, fresh, sun-kissed look without having to fake tan and blahblahblah. It’s brilliant for any skin colour and skin type and it’s set to be the new spring/summer trend.
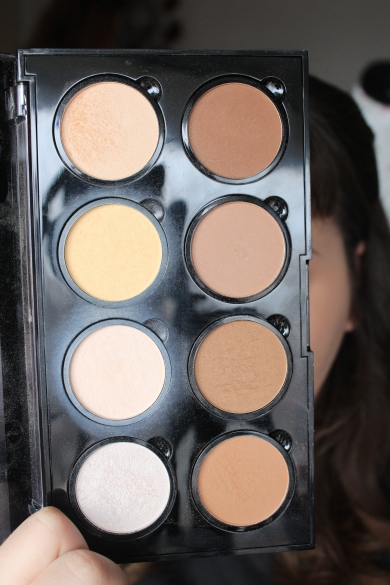
The first thing you have to do is choose your products. I have this NYX contour palette which is perfect for contouring (obviously) but as the colours are so deep, I don’t want to use this for a lightly tanned look.

The product used has to suit your skin tone and skin type. Instead of working with shades from my contour palette, I’ve chosen to use the Barry M Afterglow Light Bronzer. The reason for this choice is because I have oily skin so a cream bronzer isn’t the best idea for me (if you have a drier skin, you might want to use something a little more creamy in texture). This particular colour is the perfect shade for a sun-kissed effect on me and it has a shimmer running through it which will also reflect the light. It’s perfect for a sunny day!

I’ve already applied and set my foundation. The reason this method is called sun-stripping is because you start with a strip across the face. Okay, well you don’t have to but why not?? The bronzer is going to replace the places you would normally put a highlighter. The highlighter is great all year round and you can still use it, but you’ll be using a lot less and warming up the face instead.
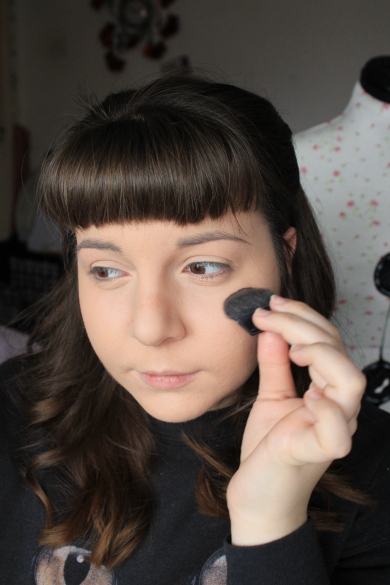
I’m using a brush I got in one of my Benefit products, but any flat-ish brush will do. Just do a strip across the area I showed you in the previous picture. Don’t be too harsh with the line and don’t worry about it being perfect just yet.

Look at that attractive little strip I got going on there ;). Right, now we need to make it look a little less like a rash… Using my setting brush by Real Techniques, I’m going to gently buff the bronzer around the top of my cheekbones and along the nose. Like I said, you don’t have to do the strip but it does help to mark out the main area and leave you with a guide so you don’t go OTT with it.

Once that’s blended, just work lightly on the other areas the sun would naturally hit like the top of the forehead, tip of the nose and the chin.

For a look like this, you don’t really need a blush, but I can’t complete my look without some form of rosy cheek so I’m using the Accessorize Merged Baked Blusher in Quiver. What I love so much about this is that it’s similar to the mineralize blushers by MAC and though it seems like a super bright sickly pink, it looks so natural and gorgeous on the skin! I have also decided to add a small amount of highlighter on my cupids bow, under my brow and on the inner half of my cheeks :*


I finished off with a small liner, defined brows and a peachy lipgloss 🙂 Perfect for the summertime! Bring it on.
Thanks for reading, lots of love to you all ❤

My little beauty at it again 😉 love this look babe!! FYI – I see Bethy in photo 5 ;D xx
LikeLiked by 1 person
Aww ❤ haha yeah she kept getting in the way! We were getting ready to go for our coffee in town haha. I’ve got a backdrop but haven’t put it up yet! X
LikeLiked by 1 person
Aww bless ya!! Yeah I had seen you went out for coffee on your insta!! Loved this look thou!! And ooooh I’ve been thinking of getting one of those but I just don’t know where to start and get one from? :s x
LikeLiked by 1 person
I’m cheating a bit… my mum got me a second hand projection screen lmao 😂
LikeLiked by 1 person
omg!! hahaha… thats funny!! ohh well.. surely amazon or someone will do one xx
LikeLiked by 1 person
Definitely! Worth taking a look xxx
LikeLiked by 1 person
Beautiful!! 🙂 xo
http://alifyalifestyle.com/
LikeLiked by 1 person
Thankyou! X
LikeLiked by 1 person